You might have seen some really cute nail paint designs that you wanted to replicate while scrolling through Pinterest. But you couldn’t because you didn’t know where to begin and were too intimidated to seek an expert’s help. The Week is here to help you make your nails look beautiful. We talked to Junu Lama from Jung Strong Nail Art in Durbar Marg and bring you simple, hassle free designs that you can try at home. These don’t take up much time and won’t make you run around, looking for items you may not have. You can use basic items you have at home and make do with them till you find yourself engrossed in nail art and wanting to be better at it.
Materials required:
-Nail filer
-Nail buffer
-Base coat
-Top coat
-Nail polish colors
Nail art brushes (you can buy the brushes you need the most from various beauty stores around Kathmandu. Prices range from 200 to 400 per brush.)
Brush hack: If you don’t have a dotting tool, you can use the round ends of a bobby pin to make the dots. You can even use a ball point pen or a toothpick for this. For a striper, you can find an old liquid eyeliner brush and clean it with a nail polish remover. Then dip it in polish and use it for a DIY nail art brush. Alternatively you can cut a part of the brush off an old nail polish and clean it with a nail polish remover and use it as your striping brush.
Before you begin:
Before you begin any of the designs, use an antiseptic spray to kill the germs living on your nails. Since you have to go back and forth with your tool, you don’t want to contaminate the nail polish. After this, file your nails to get your desired nail shape. The most popular are square and oval shapes. Buff your nails and apply the base coat. Let it dry and you are good to go.
Colorful petals
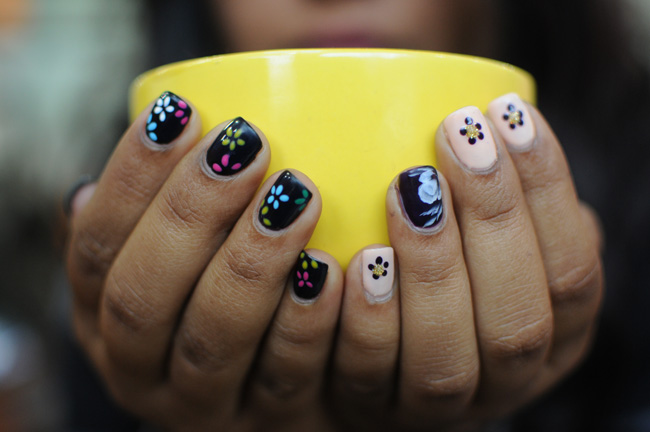
Apply a coat of black nail polish and let it dry. When dry, add another coat and let that coat dry as well. Take a dotting tool and dip it in the colorful polish you desire and make small flowers with five petals. You can also make half flowers on the edges of your nails with three petals each. However, make sure that they don’t look too crowded. Let it dry and apply the top coat.

Straight lines
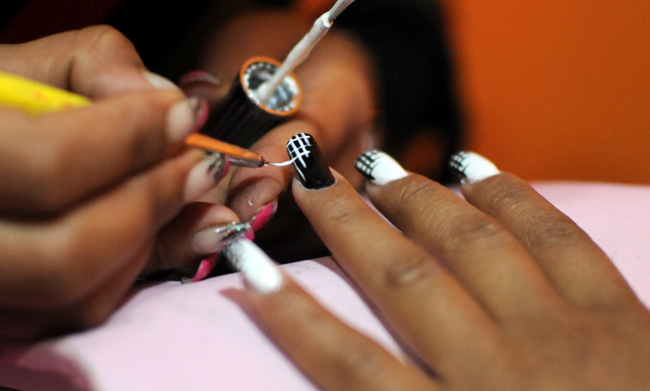
Apply a coat of white nail polish on all of your fingers except the ring finger where you should apply a layer of black nail paint. Put on another coat after the first one dries and then carefully start drawing straight lines in a descending order with the striper. Start with a long vertical strip and shorten the length as you go, and only draw the line halfway around your nails. Next, make horizontal lines that go through the vertical lines, making a box in some areas. Make white lines in the black base and black lines in the white base. Apply the top coat when it dries and then flaunt your funky nail art.

Polka dots
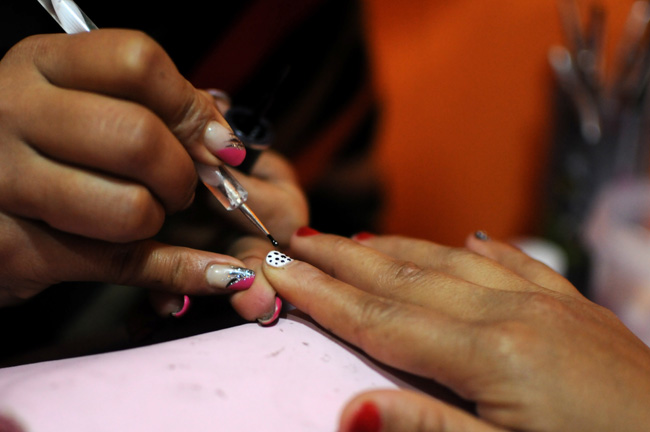
Do you have very short nails and think that nail art isn’t for you? Maybe it is time for you to reconsider and try this design instead. Paint the thumbs, middle fingers and ring fingers in red, the index finger in white and the little finger in black. After applying two coats and letting it dry, with a dotting tool make black and white dots on alternate base color. Finish with a top coat and you are left with a simple yet cute manicure.

Simple statement
Paint your ring finger a deep purple and the rest of your nails a light nude. After applying two coats of it, take the dotting tool and make a slightly big round of glittery nail polish in the middle of your nude nails. With the dot to guide you, make five dot petals around the glitter blob in the deep purple you painted your ring finger in. On the ring finger, embrace your artistic side and draw anything you want in order to make it the centerpiece of your manicure. For the photo, she has painted a ‘one stroke’ nail art, something that Jung Strong Nail Art is well known for.
What causes yellow nails and how to cure this problem

(Jung Strong Nail Art run different types of nail art classes ranging from basic skills to masters level.)


